Friday, May 24, 2013

PVC Bow and Arrow Set


My son has been frustrated with the (no) selection of toy bows and arrows.  I have been thinking that I should try to make him a set and scoured Pinterest looking for inspiration and found "Skip to My Lou"'s post here.

She put together a great tutorial so I will just add my project notes.  First, I used eraser tips on the end of dowels (but in half) as the arrows.  I decorated them all in duct tape in bright colors so they would be easy to spot in the grass and not get wet if left outside.  I used a nylon rope that is tested for 100 lbs.  I didn't want to chance anything breaking.   I used 5/8 inch dowels, but I think I might get bigger as one is already broken (my son was swinging them around like spears, so no surprise).


First shot

Trying it for himself

My husband drawing the arrow - i don't recommend pulling this far back and kids can't anyway.

The complete set

Closer shot

This is how he carries the bow and he has a sack for arrows on his back that I quickly made him with fabric.

Aiming just so

Sunday, May 5, 2013

Boy Doll

Many times girls are the only ones who are associated with having and loving toy dolls.  I have noticed a trend for boys to become doll owners as well.  However, it is harder to find a boy doll, and even harder to have one share some of the child's features!  I decided to take matters into my own hands and create a boy doll to place into my etsy shop.  I altered a pattern that I had for a doll to create him and hand embroidered the face.  I think he turned out quite cute!

Here is the listing to my etsy shop:
https://www.etsy.com/listing/150394804/boy-doll


I really like how he turned out!  I have some pieces cut out to make a few girls too, so be on the look for those!

I am also selling my purple and blue angry birds. 
https://www.etsy.com/listing/150190724/purple-angry-bird-from-space?

https://www.etsy.com/listing/150190811/blue-ice-angry-bird-plush

Saturday, April 27, 2013

Purple "Lightening" Angry Bird

So I have been making the angry birds from space lately.  I just finished making the purple bird.  I think this one was the most fun to make because of the little details. 


As with any of my patterns, do not sell anything made with them unless you have my permission.  Do not pass the pattern off as your own.  Please feel free to link to my blog.  If you create something from one of my patterns, link to my blog (and let me know, I would love to see it!)

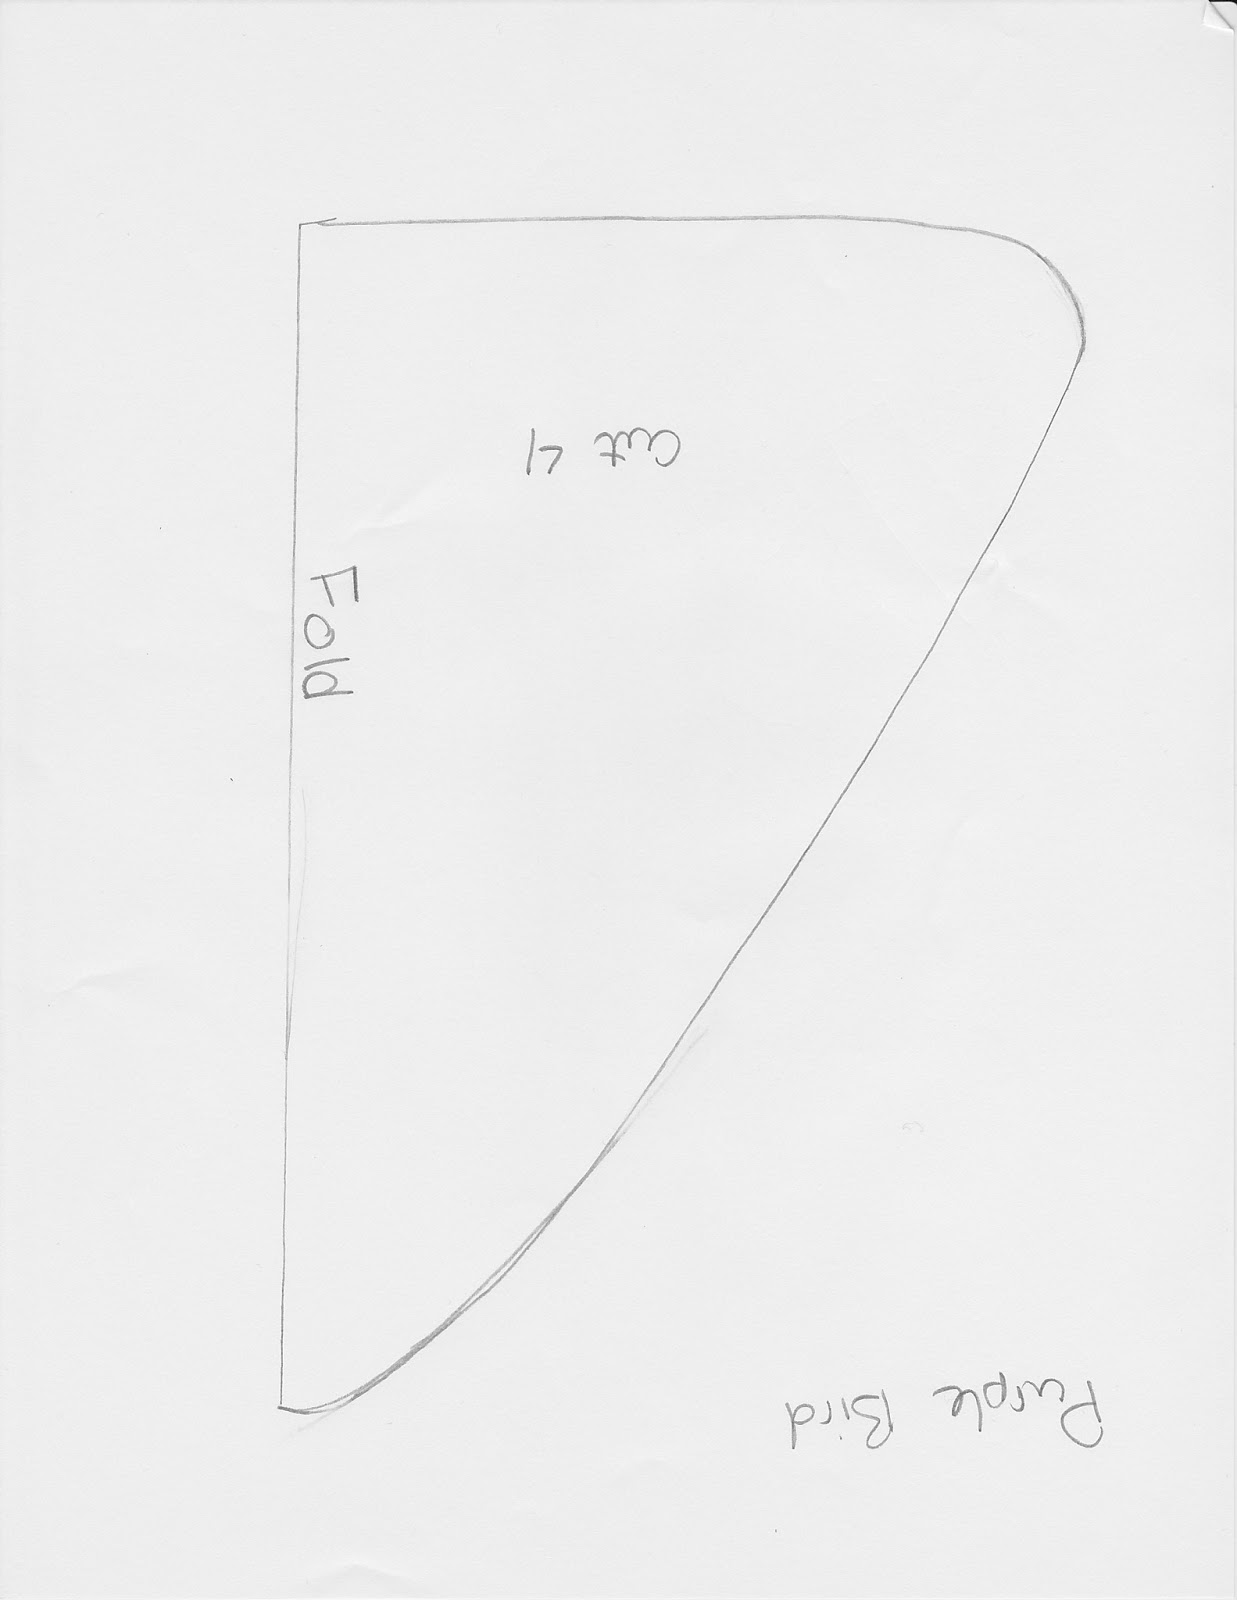
First, download the pattern and cut out the pieces:


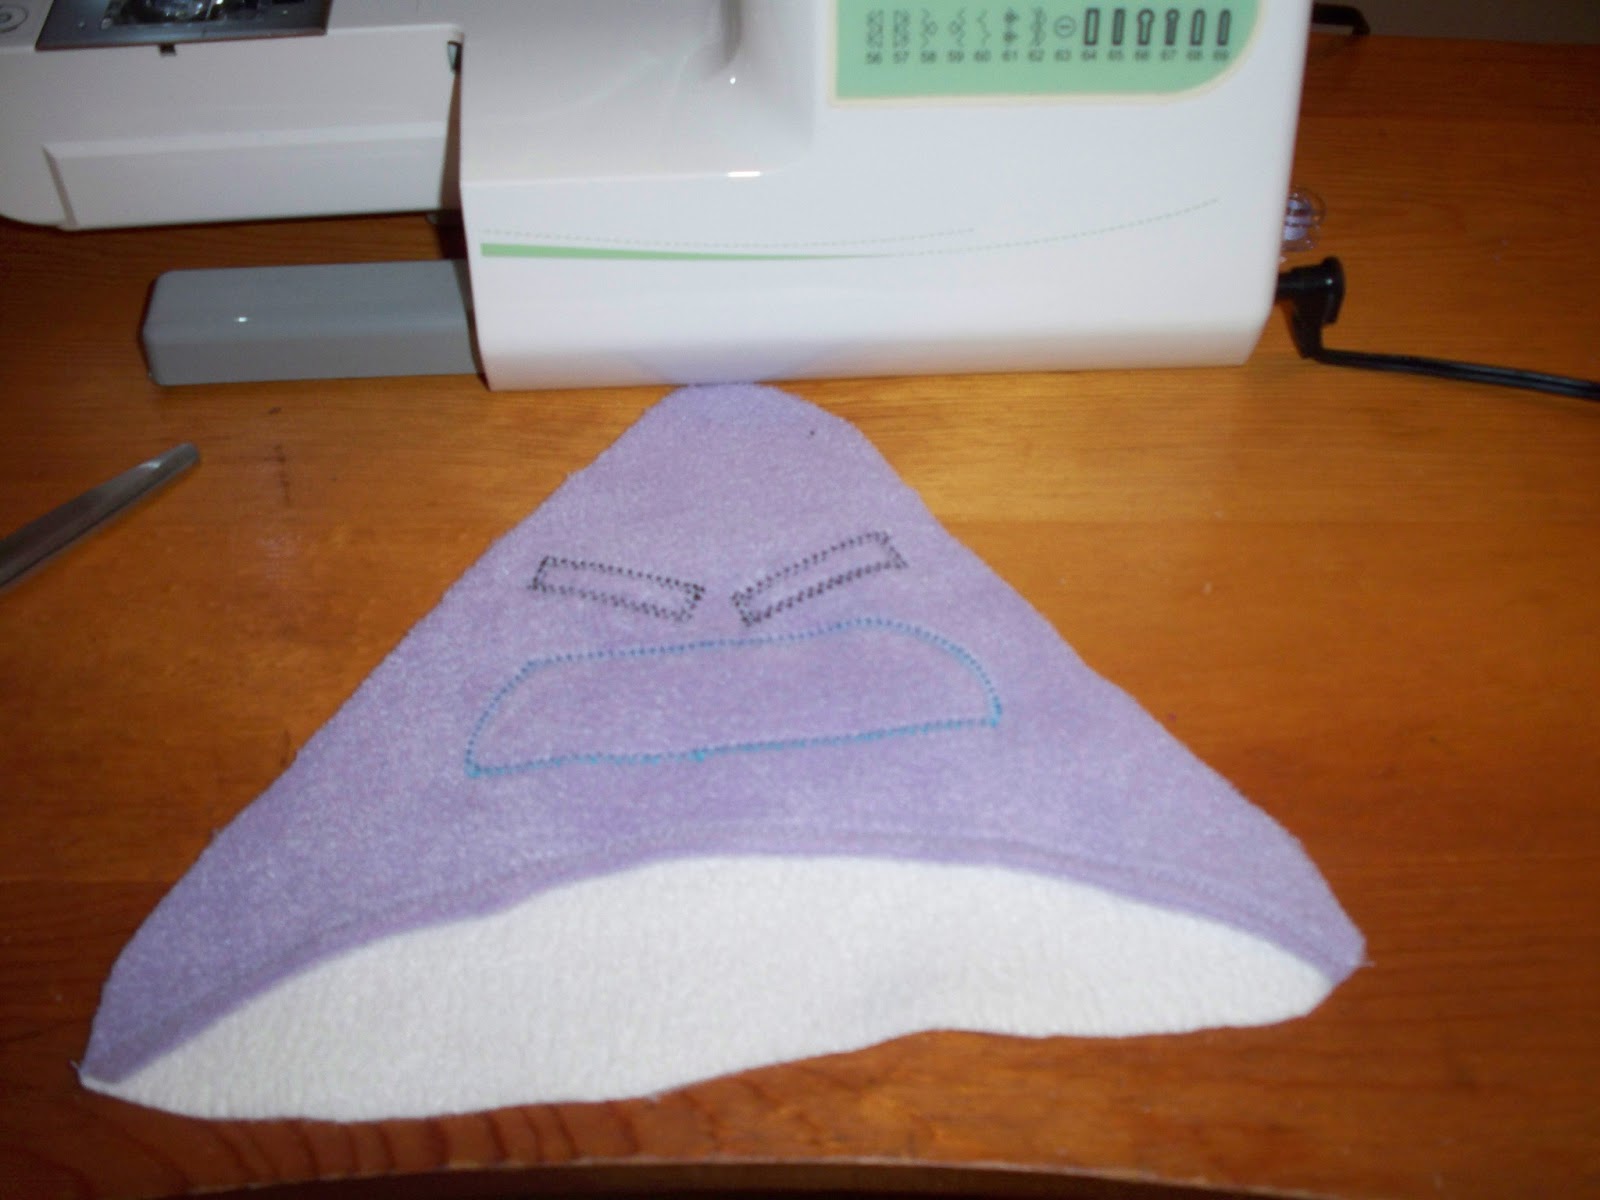
Next, sew on the face pieces and the white belly on the front triangle panel.  Make sure to sew the red eye piece on with an electric blue thread.  I used a satin stitch to make it pop.

This is a back view.  After I sewed on the white belly pieces, I trimmed the purple from the back.  This helps eliminate bulk when putting the pieces together.

Pin the lightening bolt to the head and set the piece aside.

Sew the two beak pieces together and turn right side out.

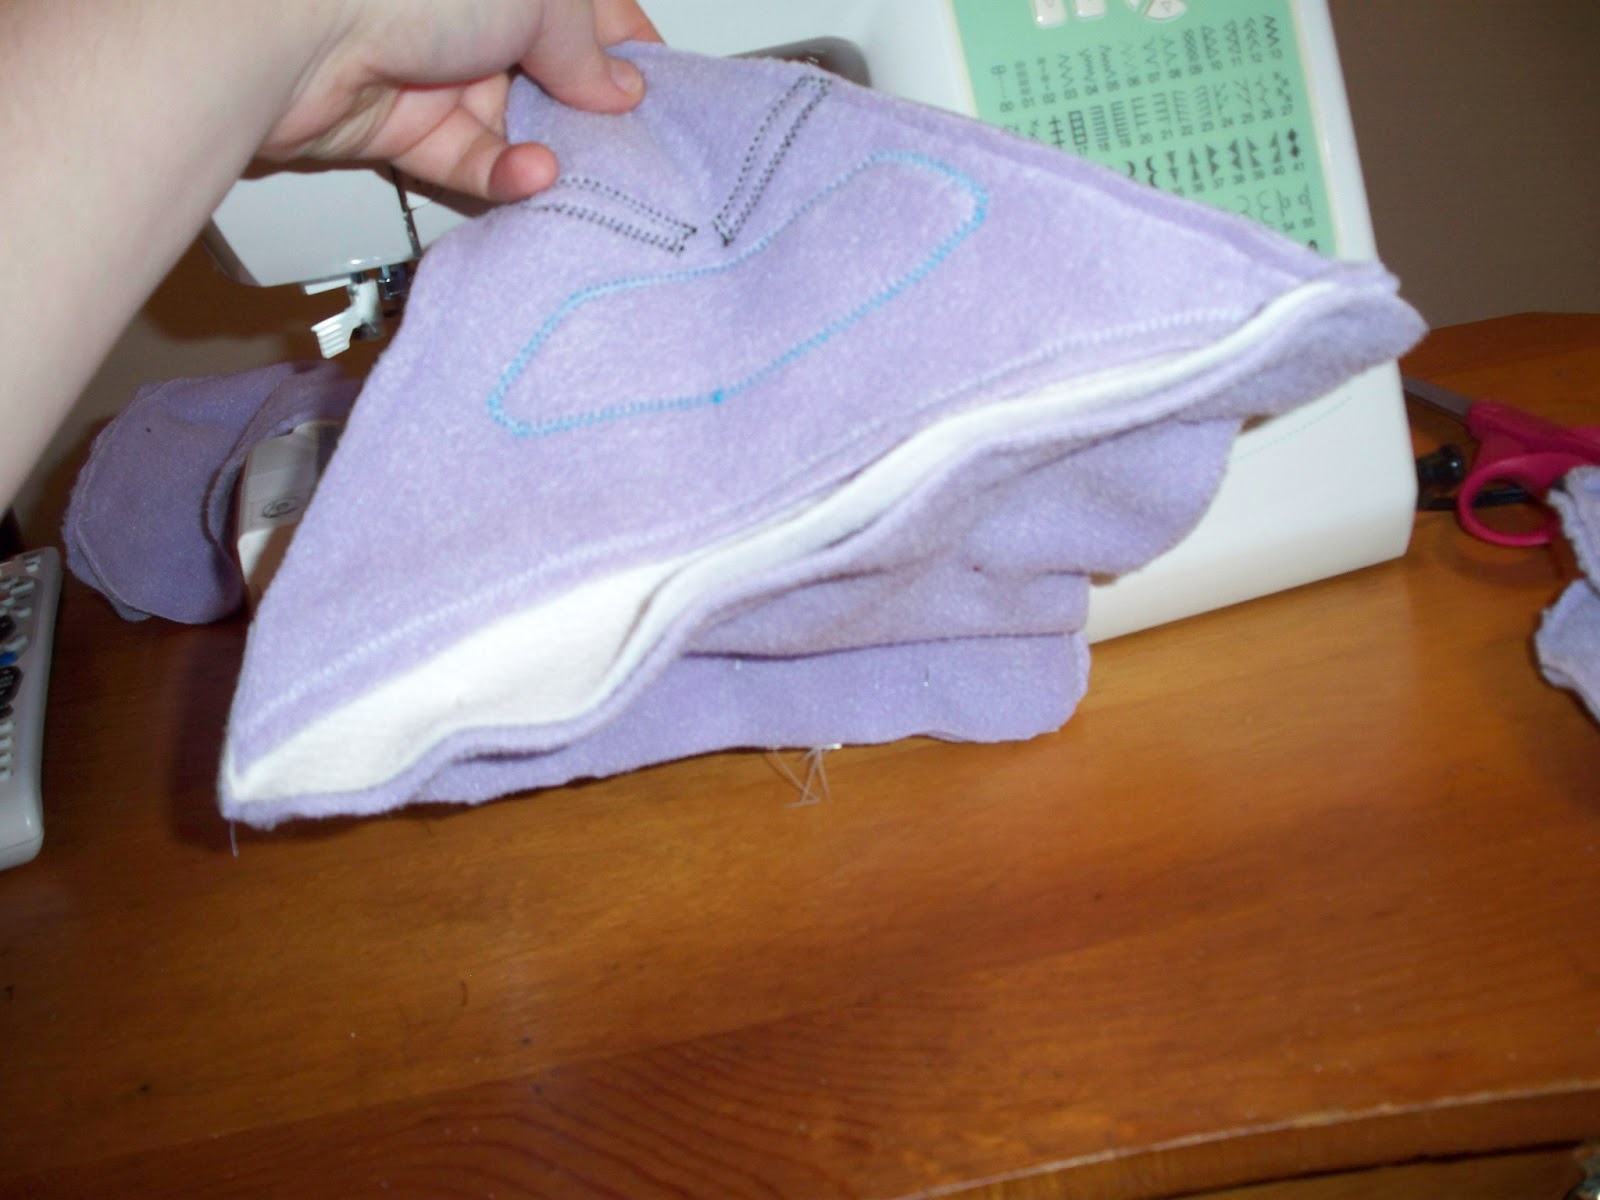
Sew two triangles down along the side and then pin the sewn pieces to the front pieces as shown in the picture.  Then sew the two sides to the front.

This is how it should look right side out.

Now pin the last triangle to the bottom , matching the longest edge to the front piece.

Sew around but leave an opening to turn right side out.

Turn right side out

Stuff and sew opening closed.

Pin the cape to the bird.

Hand sew it on

Pin and sew on the yellow medallion.

Sew on the beak (stuff it before fully closed) and you are done!


Friday, April 12, 2013

Crown Tutorial

Today's craft is a crown!  I made it with a thick interfacing, but you can use cardboard also.  No pattern, but it is super easy!


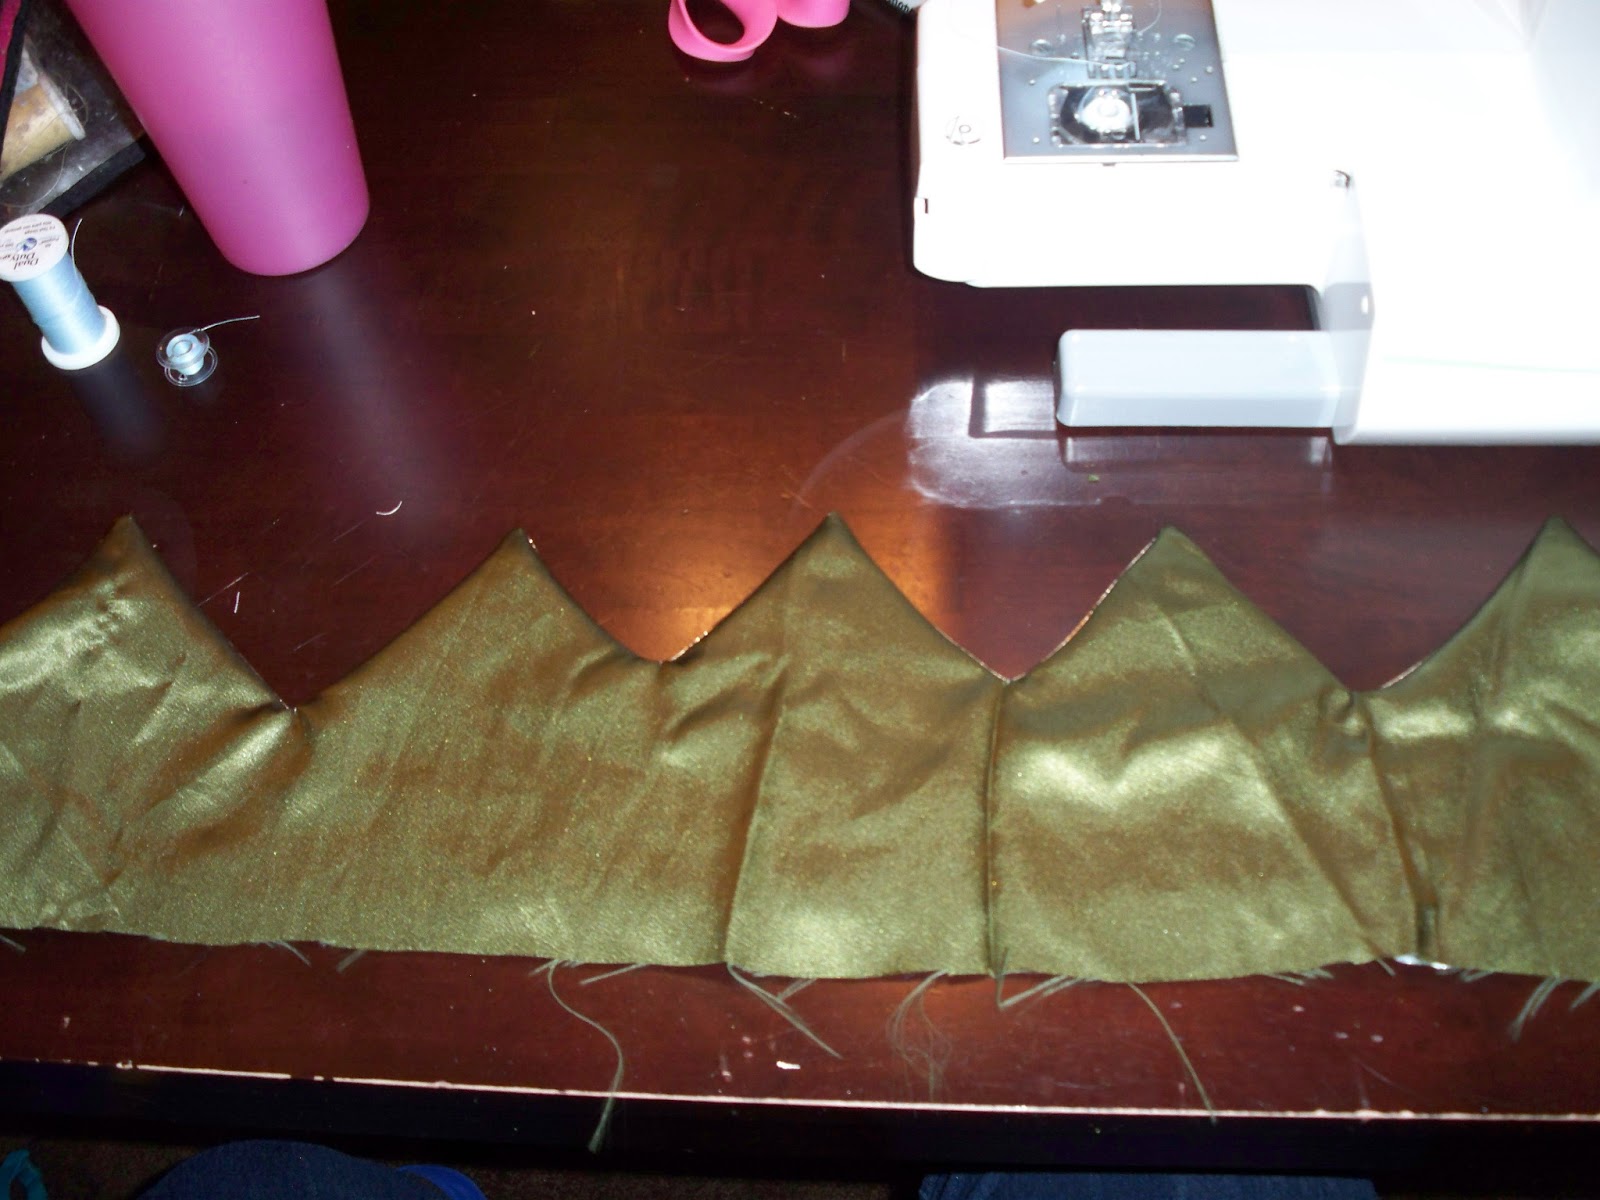
create a template the length of the finished crown.  Cut out one of the fabrics leaving an edge to sew on.

Lay the first fabric face down on the second and cut out the second piece of fabric.

Stitch the two fabrics wrong side together.

Insert the insert and pin the bottom opening closed.

Pin the crown closed.

Ladder stitch around the bottom of the crown and sew the ends closed.  You could use velcro and make it adjustable.

Your crown is done

Beautiful!

Friday, April 5, 2013

Angry Bird Invite - Pattern

As I have said, my nephew's birthday is coming up!  He loves angry birds so I made this invite to help celebrate :)  Trace the pattern with a sharpie to get the dark lines and glue together.  The invite information is on the back.  You can print it onto the card stock paper or be printed and pasted on. Keep scrolling to make your own cards or invites!


As with any of my patterns, do not sell anything made with them unless you have my permission.  Do not pass the pattern off as your own.  Please feel free to link to my blog.  If you create something from one of my patterns, link to my blog (and let me know, I would love to see it!)
Print and use as a template for your own cards!

Sunday, March 31, 2013

Minecraft Chicken into an Egg

Happy Easter!  Here is what I made for my son for Easter.  He is obsessed with the game "Minecraft" so that is the type of Easter craft I made for him :)


If there is any interest I can post a pattern for the chicken, but the egg was very complex. 

Wednesday, March 27, 2013

Chicken to an Egg - Reversible plush - Tutorial and Pattern

Easter is this Sunday.  Have you made a plush chick yet?  How about a plush egg?  What about both in one?  Introducing.... the Reversible Chick and Egg.  One side is a chick.  Flip it inside out and its an egg!

Chicks

and now eggs (I love how the feet poke out!)
Want to make your own?  Get some fleece (or other fabric), print the pattern and get started!  I also use batting.  You will need enough for it to fit between the feet, wings, feather and on all four sides of the egg shape.  This is not needed, but gives the finished product some more substance.

As with any of my patterns, do not sell anything made with them unless you have my permission.  Do not pass the pattern off as your own.  Please feel free to link to my blog.  If you create something from one of my patterns, link to my blog (and let me know, I would love to see it!)

Pattern 1
Pattern 2

Cut out your materials.  I cut batting in just large pieces.  I like to cut that down later.

Sew the two beak pieces together.

Sew the feet together.  Here I have two feet pieces right sides together with a layer of batting on top.  This will have the batting be in the middle when the foot is turned right side out.  I also sewed with the batting at the bottom so I did not have to cut it before sewing but could still see what I was doing. 

When I finished sewing I trimmed it up.

Turn right side out and sew the other foot.
Do the same for the wings and the feather.

Sew the chick body pieces together so you have two pieces.


Cut a small eye hole.  I added animal eyes to my chicks.  You could use fabric eyes if you wish.

Add the backing to the animal eyes

See, looks great!

Pin your pieces in their correct spots on the front side of the chick.

Pin the back side of the chick over the front and sew around leaving a round opening on the bottom.  Mine has a gap of about 5 inches or so.

About this big.

Pin the feed on to the chick's body.

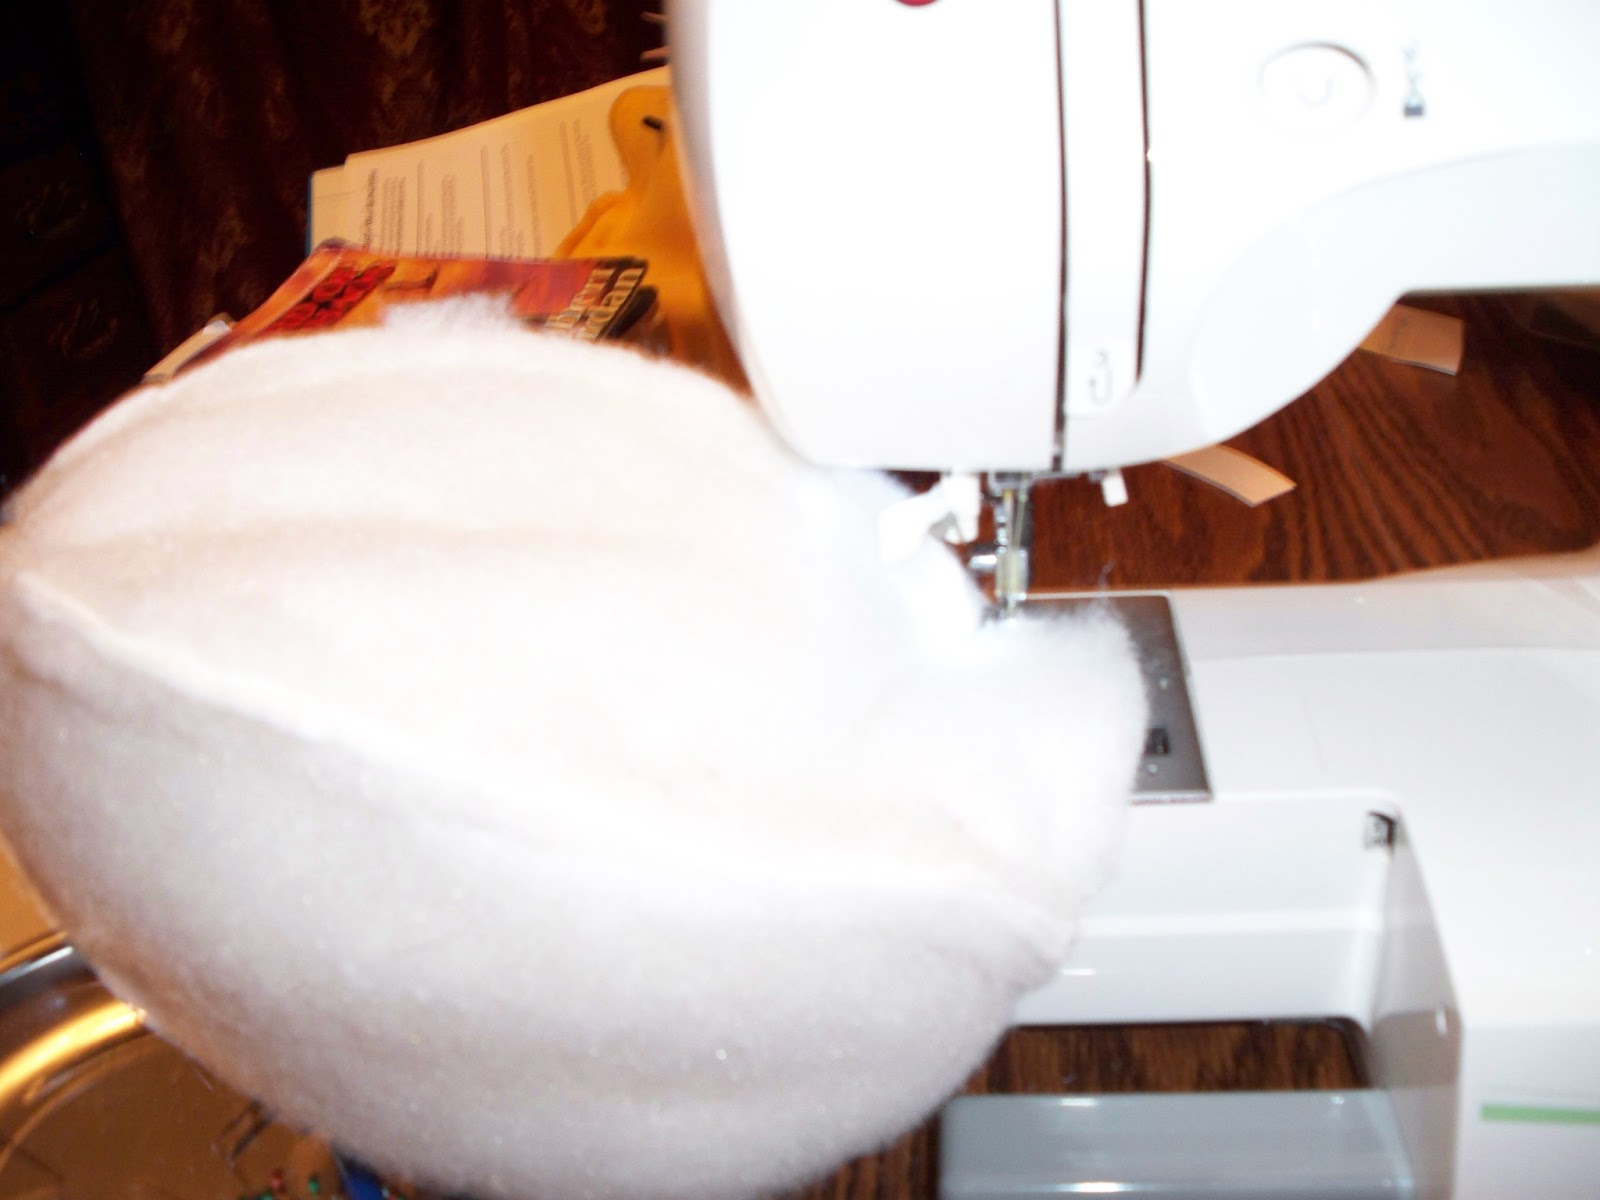
Now for the egg.  I have this pinned with batting on each side with two egg pieces int he middle.  I pinned and then trimmed the batting.  Do this for two sides to create a front and back.

Like so.  I added a tag to mine.  Pin and sew together like you did with the chick body pieces.

Put the chick and the egg right sides together and sew around the bottom opening.  Leave a space open to turn right side out.

Sew around. 

Tip: turn inside out and check the seam from inside to be sure that you didn't miss a spot.

Pull right side out.  You have your egg on one side.
And your chick on the other, attached through the bottom.
Add the beak and sew it on. Stuff it before sewing it completely closed.
Two eggs....

It hatched!

Two chicks!  I want to point out right now that the wings can face up or down.  The chick on the left has them pointing down and the one on the right facing up.  I think it makes the right side chick a little more excited looking.


Cute!