 |
| Chicks |
 |
| and now eggs (I love how the feet poke out!) |
As with any of my patterns, do not sell anything made with them unless you have my permission. Do not pass the pattern off as your own. Please feel free to link to my blog. If you create something from one of my patterns, link to my blog (and let me know, I would love to see it!)
 |
| Pattern 1 |
 |
| Pattern 2 |
 |
| Cut out your materials. I cut batting in just large pieces. I like to cut that down later. |
 |
| Sew the two beak pieces together. |
 |
| When I finished sewing I trimmed it up. |
 |
| Turn right side out and sew the other foot. |
 |
| Do the same for the wings and the feather. |
 |
| Sew the chick body pieces together so you have two pieces. |
 |
| Cut a small eye hole. I added animal eyes to my chicks. You could use fabric eyes if you wish. |
 |
| Add the backing to the animal eyes |
 |
| See, looks great! |
 |
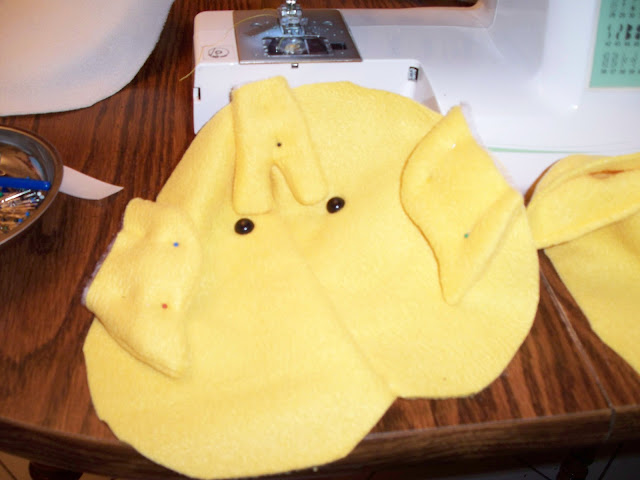
| Pin your pieces in their correct spots on the front side of the chick. |
 |
| Pin the back side of the chick over the front and sew around leaving a round opening on the bottom. Mine has a gap of about 5 inches or so. |
 |
| About this big. |
 |
| Pin the feed on to the chick's body. |
 |
| Now for the egg. I have this pinned with batting on each side with two egg pieces int he middle. I pinned and then trimmed the batting. Do this for two sides to create a front and back. |
 |
| Like so. I added a tag to mine. Pin and sew together like you did with the chick body pieces. |
 |
| Put the chick and the egg right sides together and sew around the bottom opening. Leave a space open to turn right side out. |
 |
| Sew around. |
 |
| Tip: turn inside out and check the seam from inside to be sure that you didn't miss a spot. |
 |
| Pull right side out. You have your egg on one side. |
 |
| And your chick on the other, attached through the bottom. |
 |
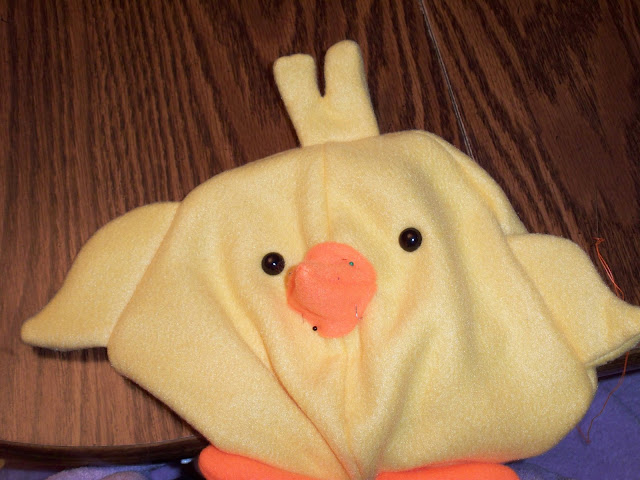
| Add the beak and sew it on. Stuff it before sewing it completely closed. |
 |
| Two eggs.... |
 |
| It hatched! |
 |
| Cute! |


No comments:
Post a Comment