


If there is any interest I can post a pattern for the chicken, but the egg was very complex.
 |
| Chicks |
 |
| and now eggs (I love how the feet poke out!) |
 |
| Pattern 1 |
 |
| Pattern 2 |
 |
| Cut out your materials. I cut batting in just large pieces. I like to cut that down later. |
 |
| Sew the two beak pieces together. |
 |
| Sew the feet together. Here I have two feet pieces right sides together with a layer of batting on top. This will have the batting be in the middle when the foot is turned right side out. I also sewed with the batting at the bottom so I did not have to cut it before sewing but could still see what I was doing. |
 |
| When I finished sewing I trimmed it up. |
 |
| Turn right side out and sew the other foot. |
 |
| Do the same for the wings and the feather. |
 |
| Sew the chick body pieces together so you have two pieces. |
 |
| Cut a small eye hole. I added animal eyes to my chicks. You could use fabric eyes if you wish. |
 |
| Add the backing to the animal eyes |
 |
| See, looks great! |
 |
| Pin your pieces in their correct spots on the front side of the chick. |
 |
| Pin the back side of the chick over the front and sew around leaving a round opening on the bottom. Mine has a gap of about 5 inches or so. |
 |
| About this big. |
 |
| Pin the feed on to the chick's body. |
 |
| Now for the egg. I have this pinned with batting on each side with two egg pieces int he middle. I pinned and then trimmed the batting. Do this for two sides to create a front and back. |
 |
| Like so. I added a tag to mine. Pin and sew together like you did with the chick body pieces. |
 |
| Put the chick and the egg right sides together and sew around the bottom opening. Leave a space open to turn right side out. |
 |
| Sew around. |
 |
| Tip: turn inside out and check the seam from inside to be sure that you didn't miss a spot. |
 |
| Pull right side out. You have your egg on one side. |
 |
| And your chick on the other, attached through the bottom. |
 |
| Add the beak and sew it on. Stuff it before sewing it completely closed. |
 |
| Two eggs.... |
 |
| It hatched! |
 |
| Two chicks! I want to point out right now that the wings can face up or down. The chick on the left has them pointing down and the one on the right facing up. I think it makes the right side chick a little more excited looking. |
 |
| Cute! |
 |
| I love how they turned out! |
 |
| Pattern Piece 1 |
 |
| Pattern Piece 2 |
 |
| First, cut all of the pieces out. |
 |
| Next, sew the feather pieces together like so. |
 |
| Sew them together again to create 4 boxes. two small and two large. |
 |
| Sew the top of the feathers onto the box shapes. |
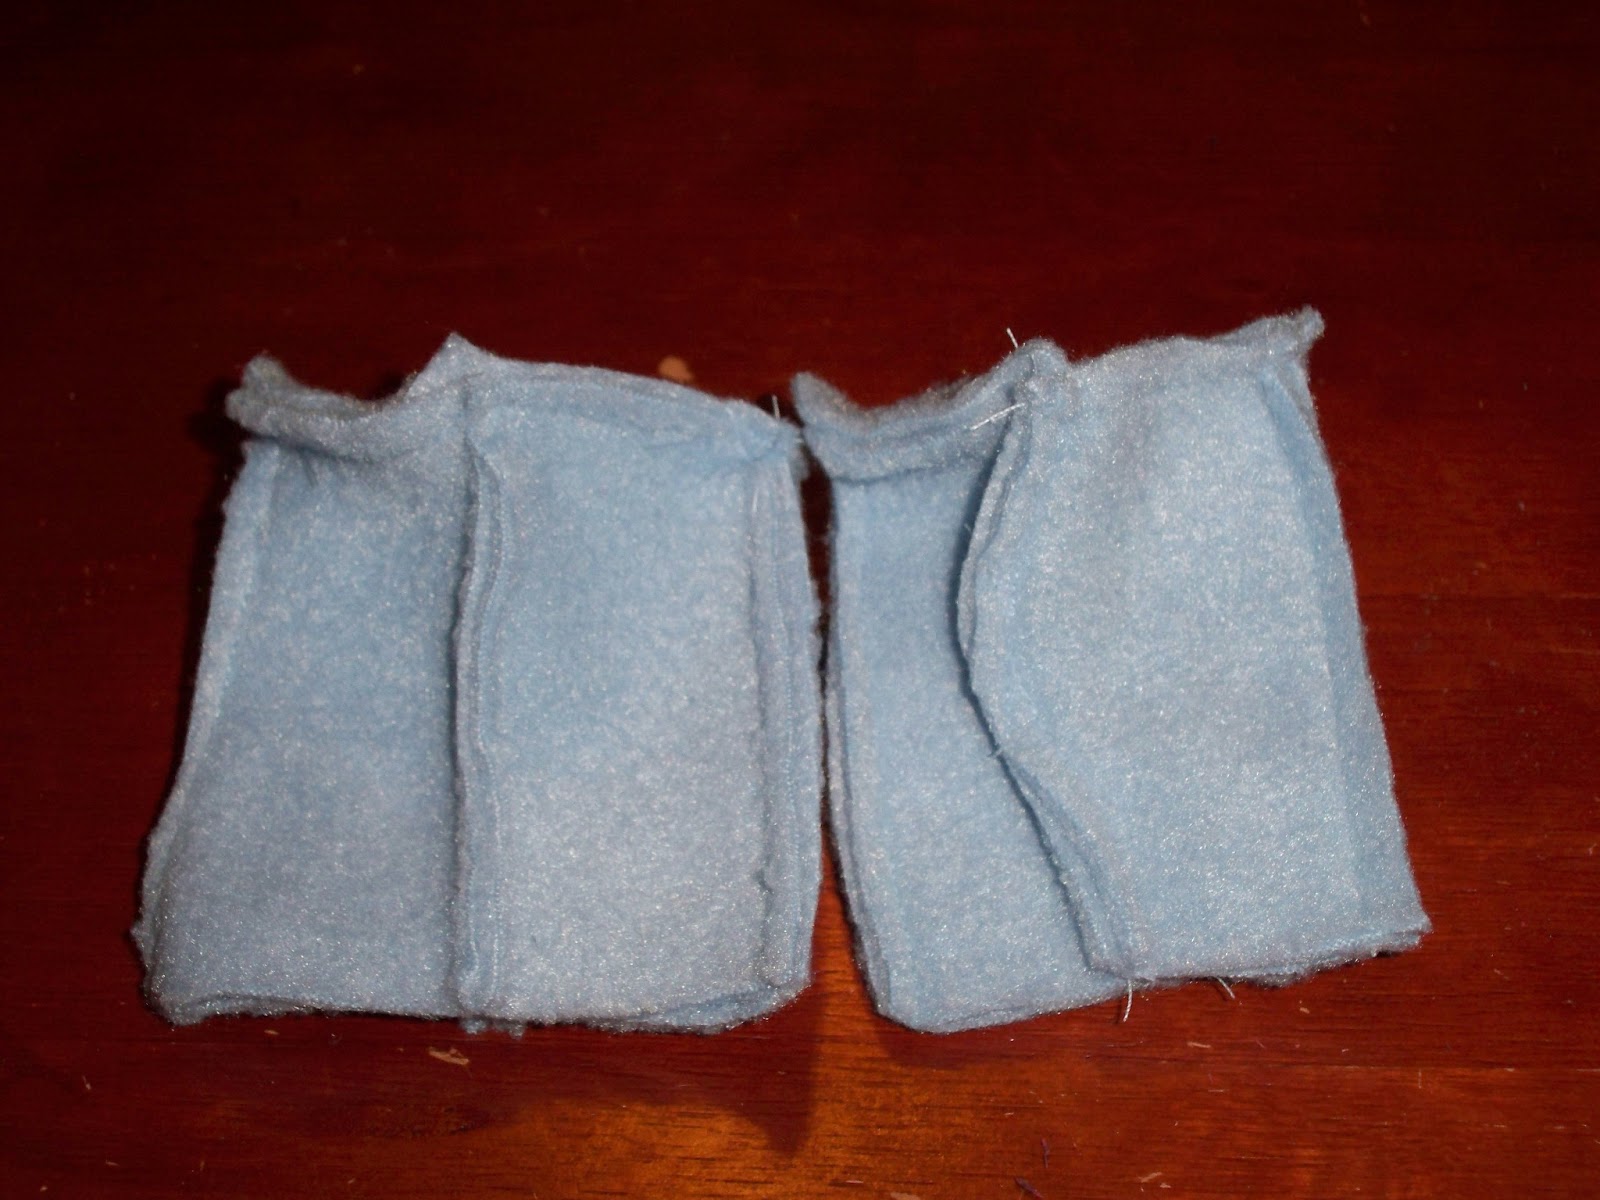 |
| Next, I sewed two opposite corners in at an angle. Without doing this step, the feather bases will be too large for the bird and it looks funny. You can see in the above picture that the bottom tapers in a little bit on the right feather. |
 |
| This is the size difference the tapering from the top angle. Much nicer. |
 |
| Sew the eyes and eye brows on. I used a tight zig zag stitch. |
 |
| Stitch the two beak pieces together. |
 |
| Sew two of the body pieces right sides together. |
 |
| Sew the face piece onto the two sewn body pieces. |
 |
| Sew on the fourth side. |
 |
| At this stage I added the eyes. I used 'animal eyes' from the craft store as I thought the ice bird has some really small beady eyes and I really didn't want to sew those on! I am very happy with my choice. With the animal eyes, cut a VERY small hole int he back of the fabric. As small as you can make it so the eye does not come out after you put the back on. In the picture, you can see the white eye fabric through the blue hole. The blue hole is slightly bigger, but that is okay. |
 |
| Insert in the eye and add the backing piece on according to instructions. |
 |
| Perfect! |
 |
| Sew the top and bottom squares onto the face piece. |
 |
| Sew the top and bottom sides along the top and bottom of the square. |
 |
| I would place them together and make sure that the top seam was a triangle so no fabric got folded into the seam. |
 |
| Top and bottom sewn on - now we just have the back piece left. |
 |
| Inside view |
 |
| Sew the back piece on carefully |
 |
| Don't forget to leave a hole to turn right side out. I don't like to have the turning hole on a corner so on one edge (the back bottom) I sewed along and then skipped a few inches and continued sewing so I would have the opening in the middle of the seam. |
 |
| Turn right side out. I think it looks a little creepy at this point. Stuff and sew up the back opening. |
 |
| Next hand sew the beak on, making sure to stuff it before the opening is completely closed. |
 |
| Looking nice! (you can see my messy clutter in this picture - oops!) |
 |
| Now to add the top feathers. First I sewed one edge of a small and large feather together so they don't move around. |
 |
| Then I sewed the middle seam onto the middle of the top to secure it before sewing all around, attaching it on all sides - stuffing it before closing it off all the way. |
 |
| Do the same for the back feathers. |
 |
| Very nice. You are all done! |


